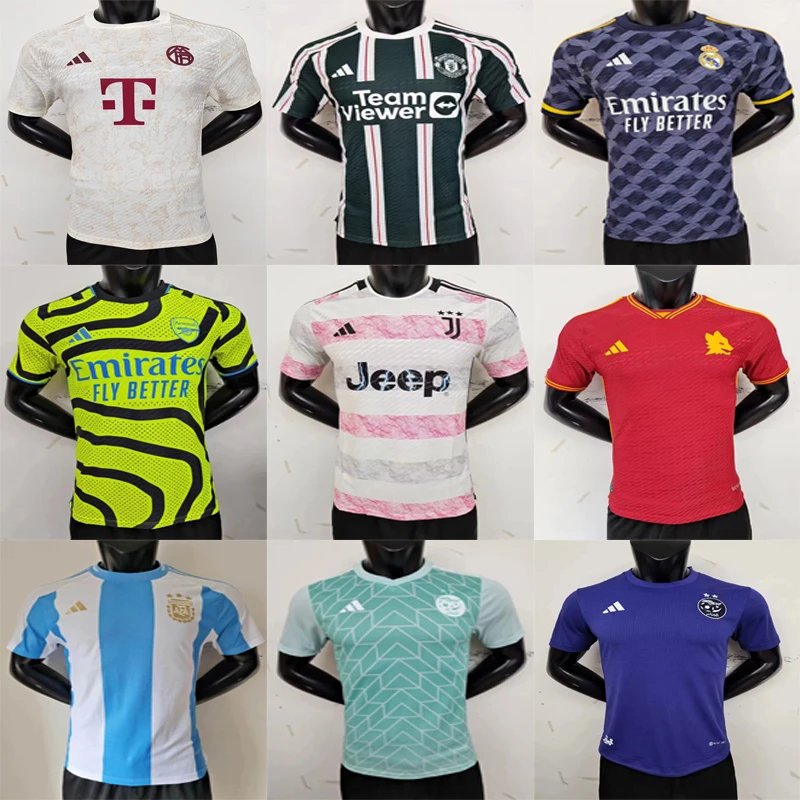
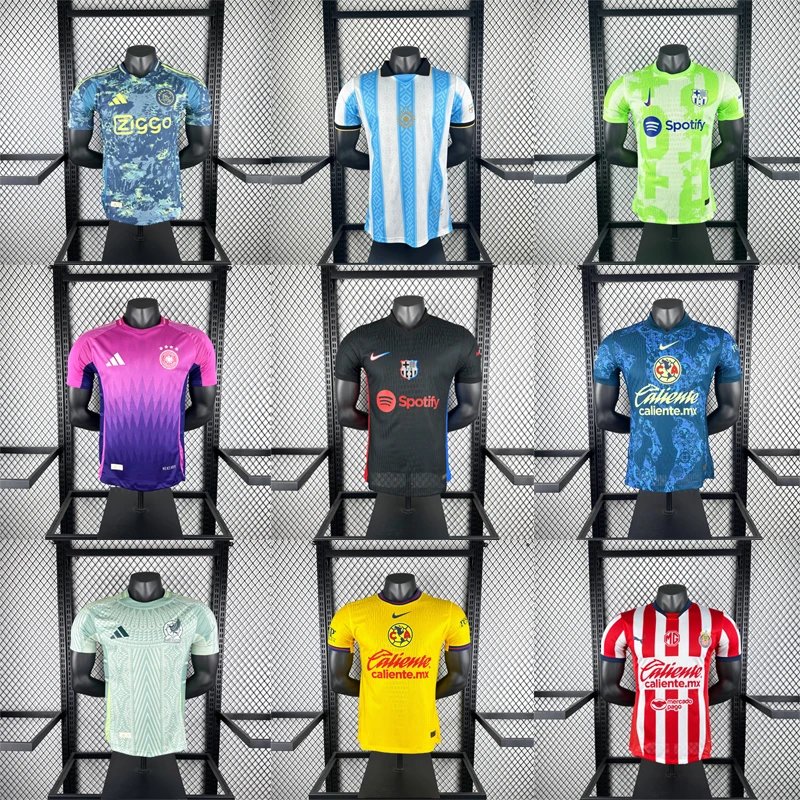


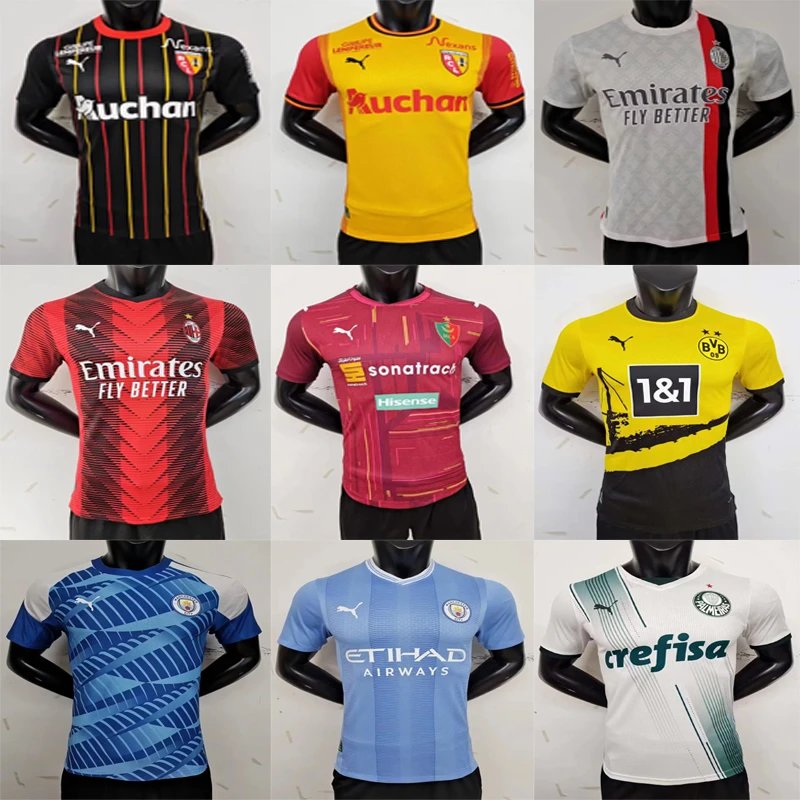
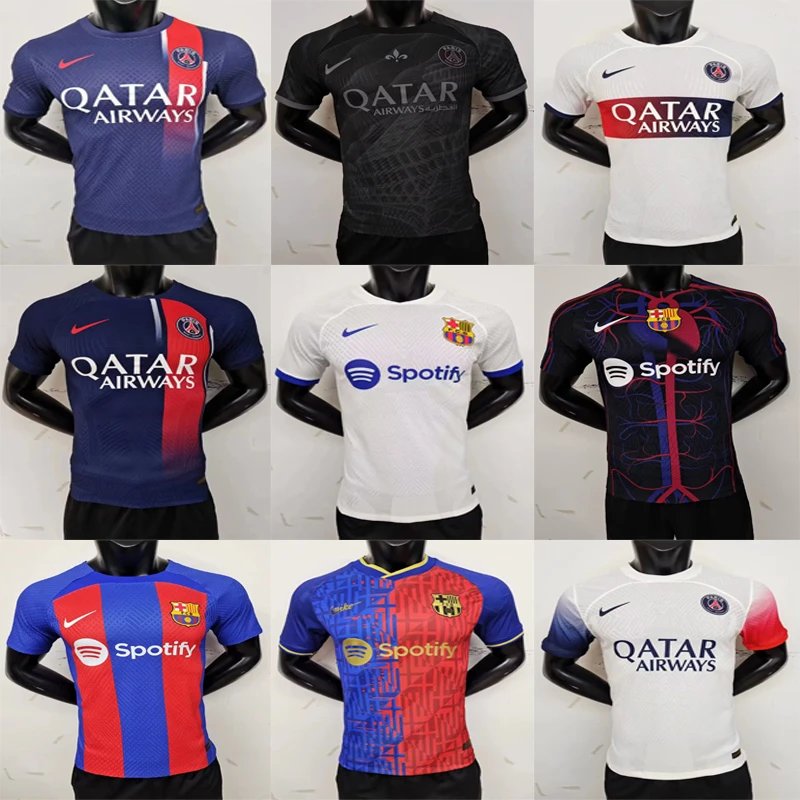
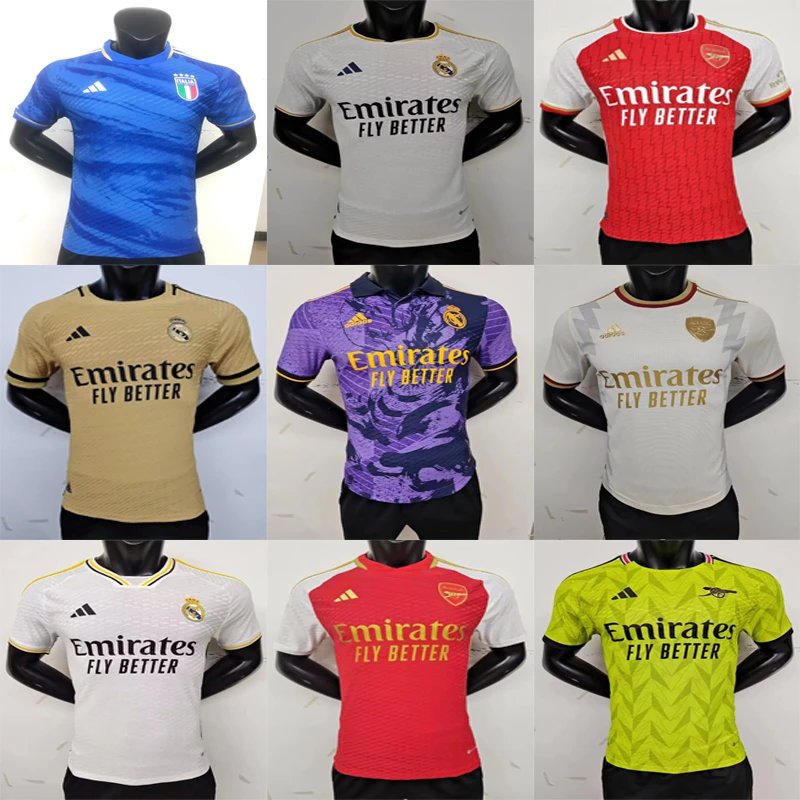
A key step in the VigorBuy process is conducting Quality Control (QC) before
Recording visual evidence and specifications in your VigorBuy spreadsheet serves critical purposes: Your VigorBuy tracking spreadsheet should have dedicated columns for this information. Here’s what to record: Once your item arrives at the agent's warehouse, they will upload photos to their platform. You will receive a notification. Compare the agent's photos side-by-side
Paste the photo links
Fill in the confirmed details
Set the QC Status
Based on your QC Status, instruct your agent: "Please ship this item,""Please request an exchange due to color discrepancy, photos attached." Use the Meticulously recording QC photos and verified product details transforms your VigorBuy spreadsheet from a simple tracker into a powerful management and protection tool. This disciplined practice minimizes costly errors and ensures every package shipped is a package you're excited to receive. Remember:
Why This Step is Non-Negotiable
Your Spreadsheet QC Checklist
Spreadsheet Column
What to Record
Best Practices
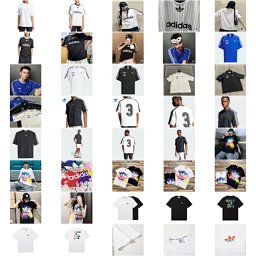
QC Photo Links
Direct URLs to the high-quality photos provided by your agent.
Use cloud storage (Google Drive, Imgur) and paste permanent, shareable links. Never rely on local file paths.
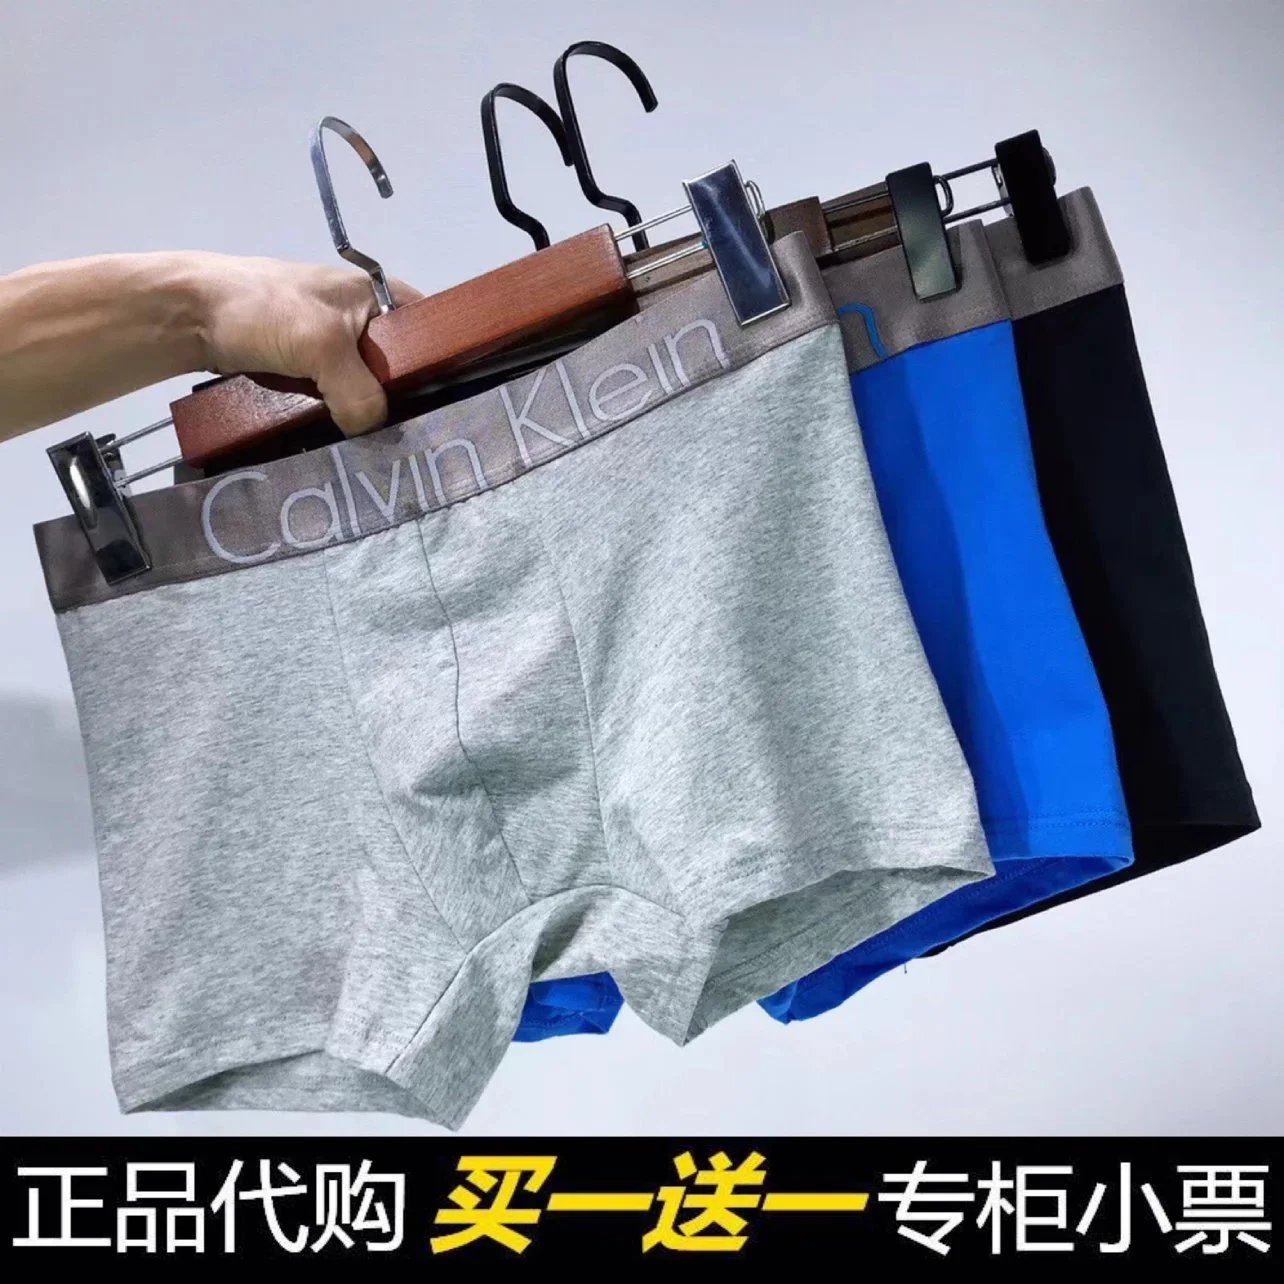
Product Details (Post-QC)
Confirmed color, size, material, and any specific measurements.
Copy information directly from the agent's QC report, noting any discrepancies from the original listing.
QC Status
Approved / Rejected / Needs Exchange.
Update this immediately after review. Color-code (Green/Red/Yellow) for quick scanning.
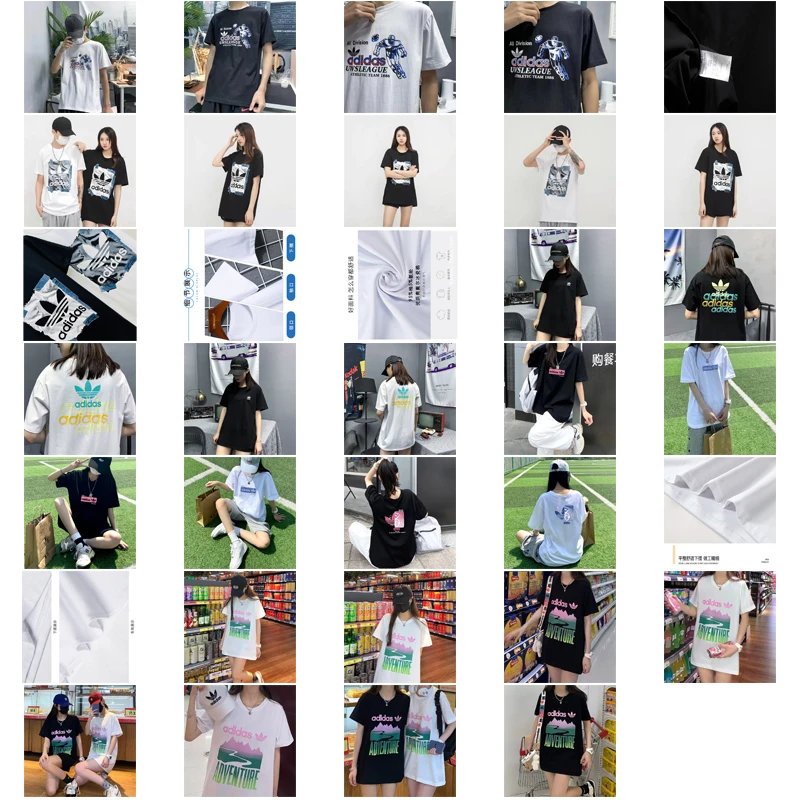
Notes / Issues
Any flaws, concerns, or special instructions for the agent.
Be precise: "0.5cm scratch on left buckle," "color slightly darker than website image," etc.
Step-by-Step Workflow
Receive QC Photos from Your Agent
Analyze the Evidence
Update Your VigorBuy Spreadsheet
Communicate with Your Agent
Pro Tip: Automate Your Links
=HYPERLINK("URL", "View QC Photos")
Conclusion: Shipping with Confidence
VigorBuy: Recording QC Photos & Product Details in Your Spreadsheet
2025-12-16